
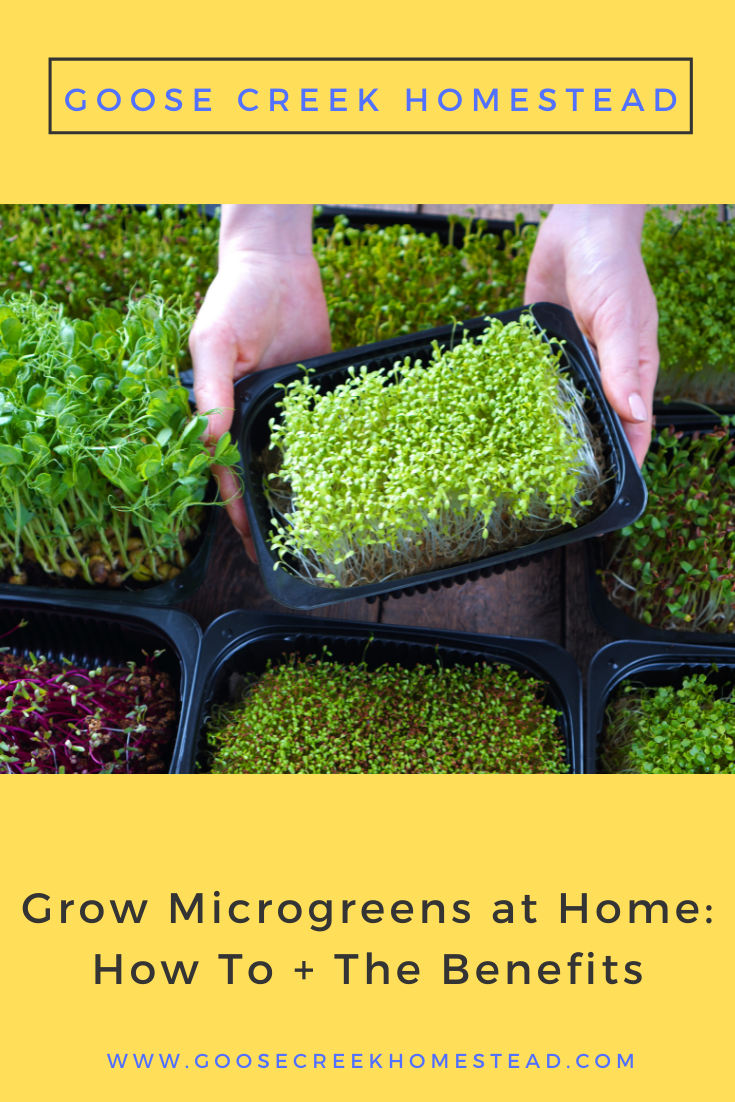
Anyone can grow microgreens at home to add flavor and nutrition to a variety of meals. Here’s what beginners need to know to get started with growing microgreens at home, how to use them, and why you should.
You can grow microgreens at home for a fraction of the cost of buying them at the store. Use them to add nutrition and flavor to everything from soups and salads to sandwiches and smoothies.
All you really need to grow microgreens at home is a shallow tray, a growing medium, microgreens seeds, and a sunny window or a grow light. Microgreens don’t require much space, so they’re the perfect crop for urban gardeners.
Microgreens can be grown indoors year-round, and they come in a huge variety of colors, textures, and flavors. If you’re looking for a sustainable way to grow some of your own food or add variety and nutrition to your food storage, microgreen growing is a great place to start.
Here’s everything beginners need to know about growing microgreens at home, how to use them, and why you should.

Click to View Table of Contents
How to Grow Microgreens at Home: Microgreen Growing for Beginners
1. Choose the right location.
The best location for growing microgreens indoors is anywhere that you can provide proper lighting and warm temperatures. The light can come from a south-facing window or a full spectrum grow light, whichever works best for your location. You will also need good airflow via a ceiling fan, portable fan, or window with a gentle breeze.
 |
VIVOSUN 300W LED Grow Light Full Spectrum – $89.99
VIVOSUN 300W LED Grow Light Full Spectrum |
2. Choose your container and growing medium.
Any shallow container can work for growing microgreens. You can even clean and use disposable pie plates or take out containers, but you’ll need to add drainage holes.
If you plan on growing a lot of microgreens, consider investing in some well-made, reusable microgreens growing trays. They’ll last for years and make your life much easier at planting and harvesting time. In my experience, they’re well worth the investment.
The best growing mediums for microgreens are an organic potting mix, coconut coir, or compostable hemp microgreens growing mats, depending on your preference. If you want to grow microgreens without soil, you can also grow them in seed sprouting trays or an indoor hydroponic garden system. You may want to experiment with different growing techniques to see what works best for you.
3. Plant your seeds.
Read the instructions on your seed packet. Be sure to follow any special instructions for pre-soaking your seed or for proper seed density when planting.
Place an inch or two of growing medium or a growing mat in the bottom of a container that has ample bottom drainage. Moisten your growing medium thoroughly. It should be completely moistened but never dripping wet. Level it with your hand, but don’t compress the soil.
Scatter your seeds evenly across the soil and press them gently into the growing medium to ensure proper contact. Mist the seeds and cover the container with a clear lid or plastic wrap until they sprout.
4. Monitor your seeds for optimal growing conditions.
Monitor your seeds regularly and mist them with water once or twice a day as needed. They should stay moist, but never wet. Once the seeds have sprouted, remove the cover. Continue to monitor the moisture at least twice a day until they’re ready to harvest. If your trays are in a sunny window, you may need to water more often.
Microgreens require at least four hours of light each day. If your microgreens are leggy and pale, they’re probably not getting enough light. Providing gentle airflow with a fan or breeze is also important for preventing mold and damping off.
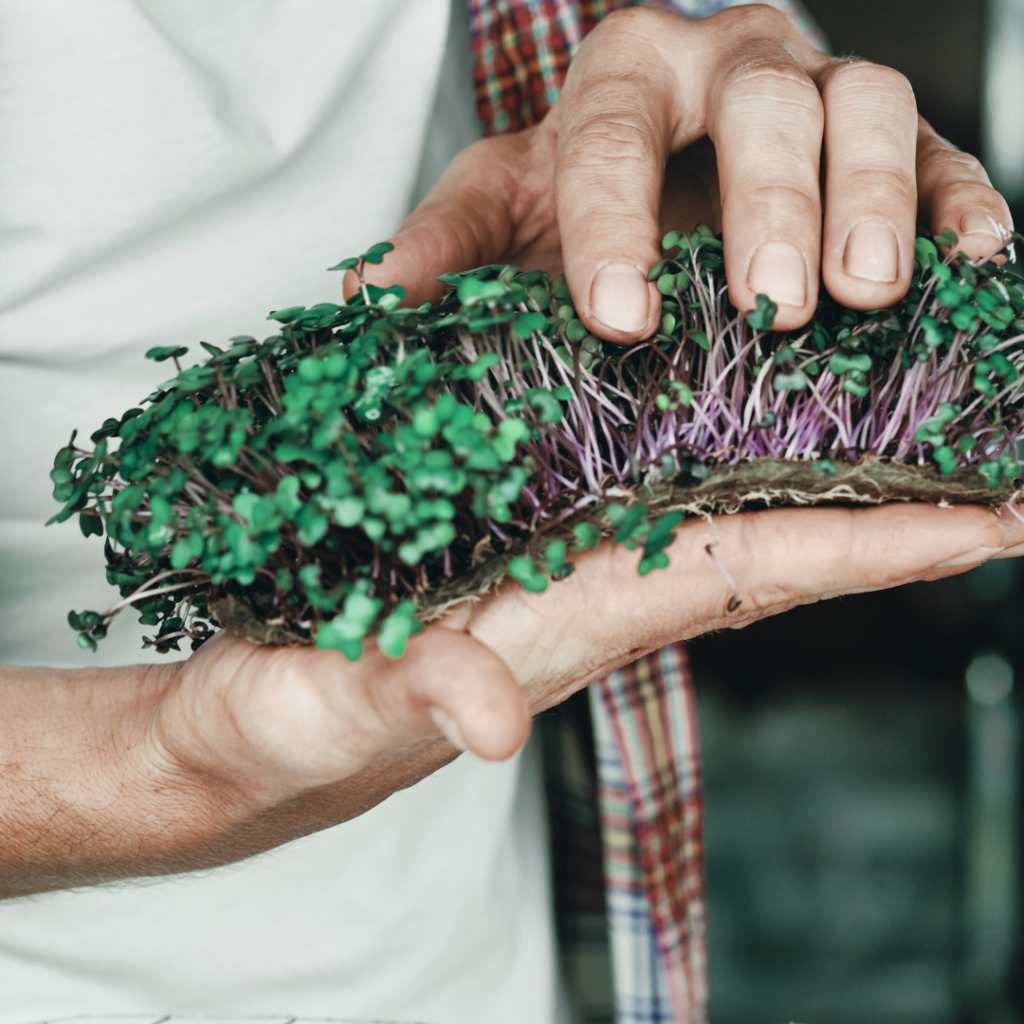
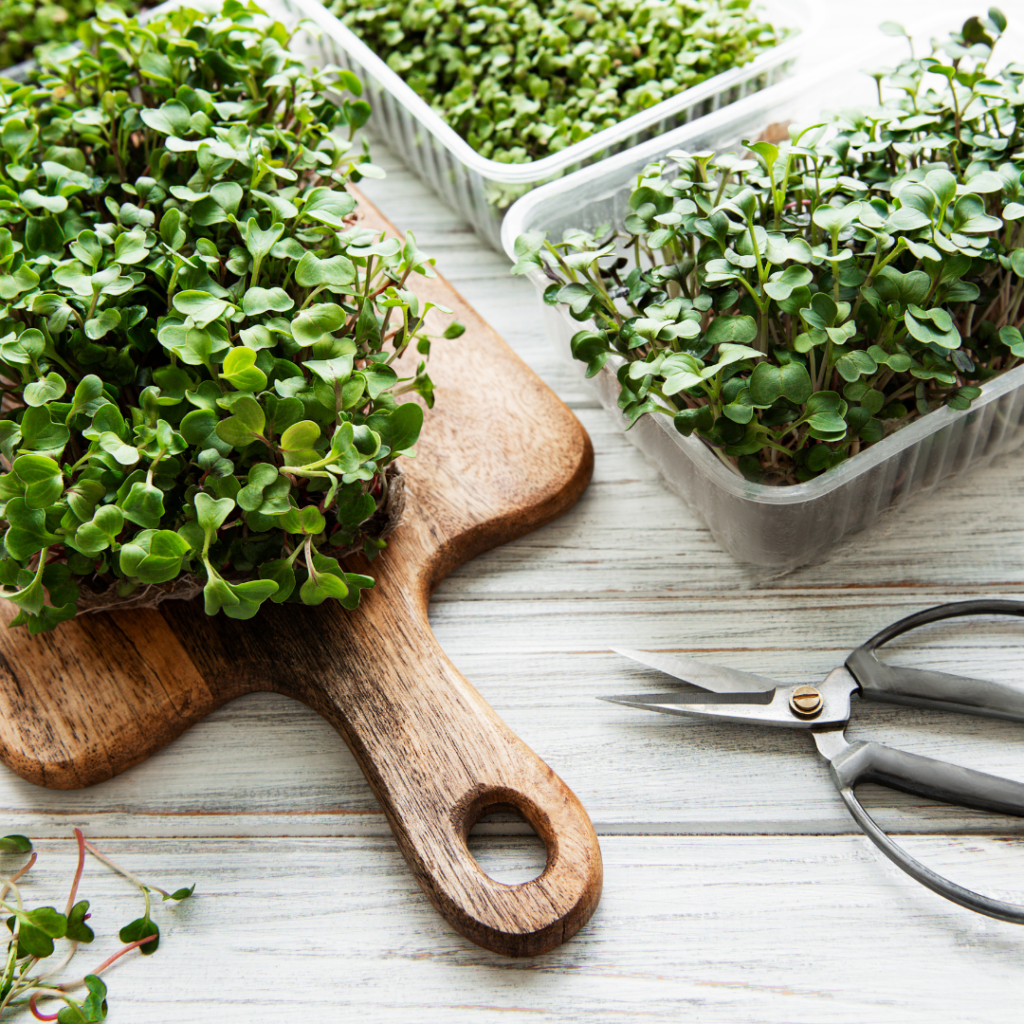
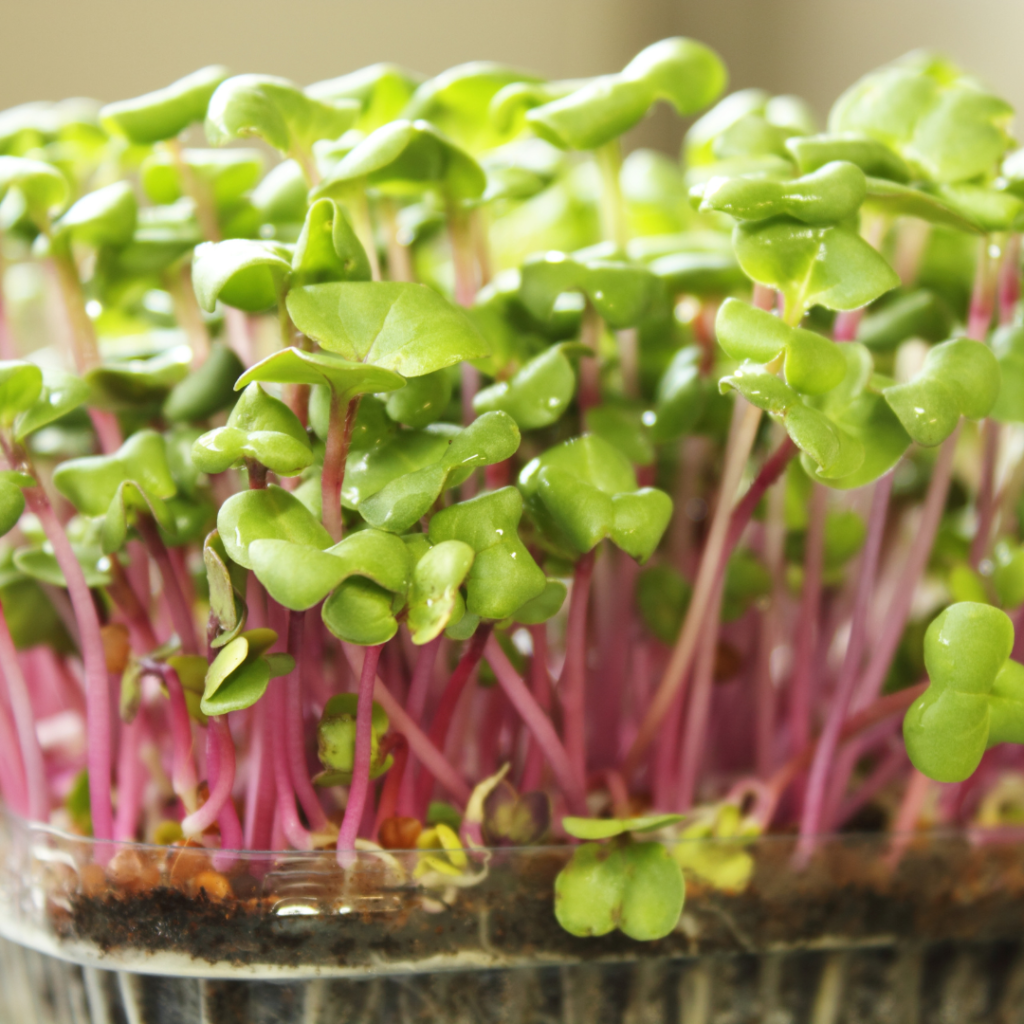
5. Harvest your microgreens.
Microgreens are ready to harvest when their first set of true leaves appear. This can range from 10 – 21 days, depending on the type of microgreen you are growing and the growing conditions. To harvest, simply use a pair of scissors to snip them right above the soil line. You can harvest them as needed over a few days or harvest them all at once and store them in the fridge.
How to Use Microgreens
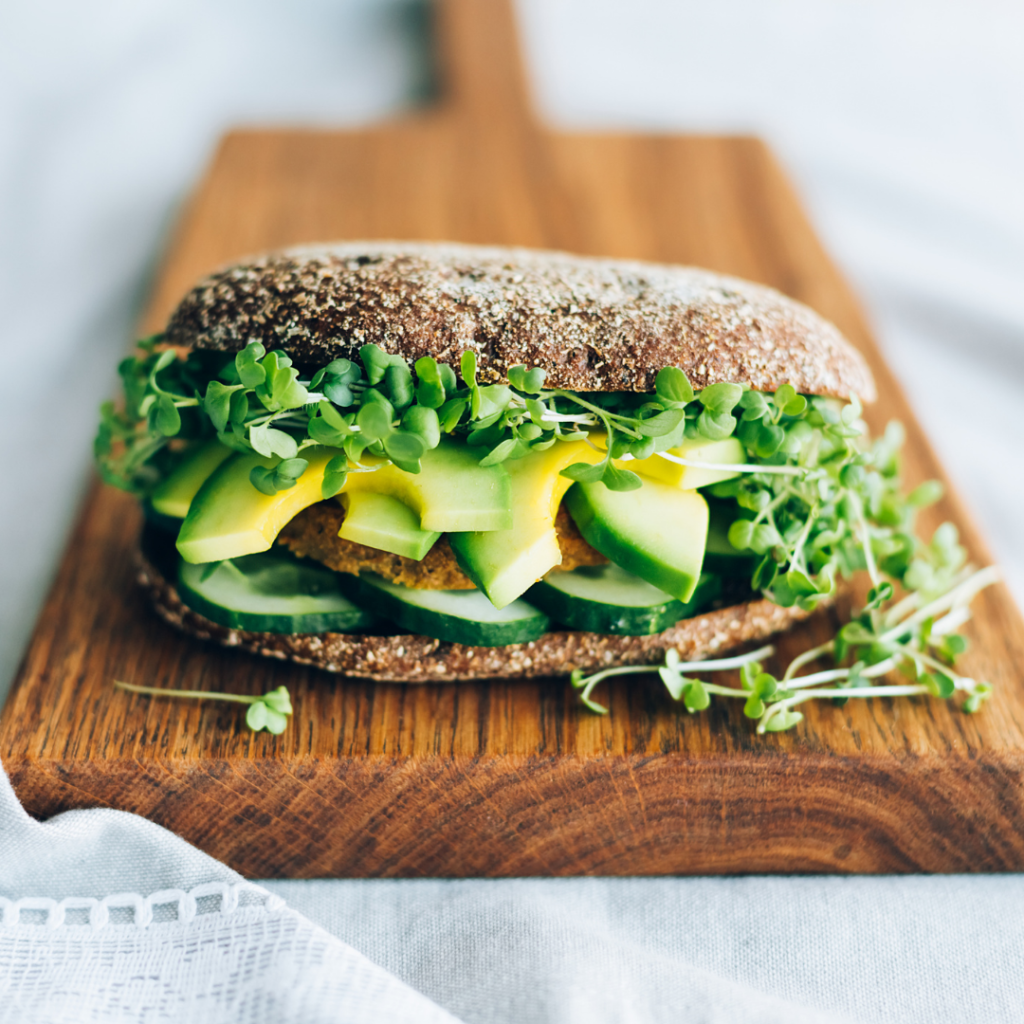
Microgreens are incredibly tasty and versatile. Use them to add nutrition, crunch, and flavor to soups, sauces, salads, sandwiches, wraps, pizza, tacos, and smoothies. Some microgreens, like pea shoots and Asian microgreens, are fantastic in stir fry.
You can even juice them or simply use them anywhere you would typically use sprouts or lettuce. Chefs adore herb microgreens as a flavorful and beautiful garnish on all sorts of dishes, from meat and seafood to side dishes like rice and potatoes.
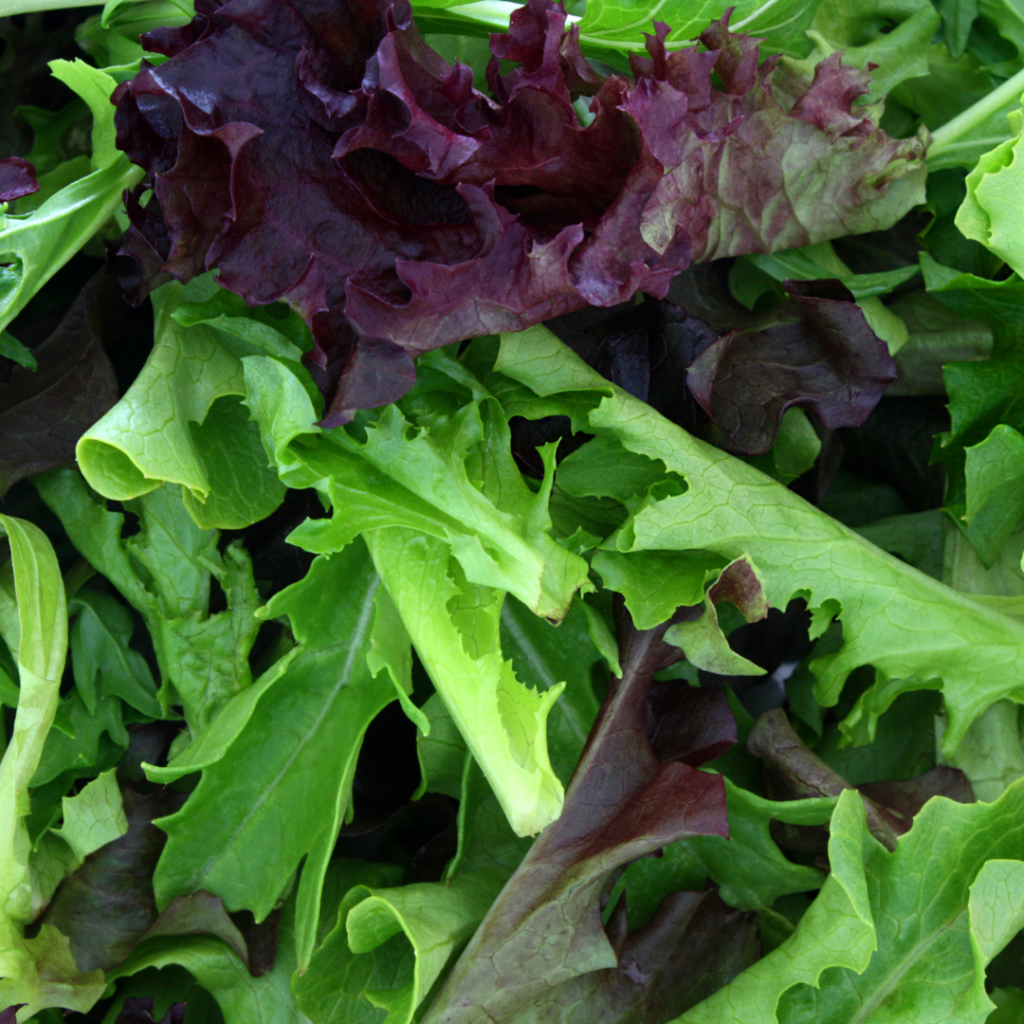
Of course, they can be the main ingredient in your salad, too. Microgreens are best used fresh, but sometimes life gets busy. If you don’t get a chance to use them fresh, freeze them to add to smoothies later. Or dehydrate them and turn them into a nutritious green powder you can use anytime.

The Health Benefits of Microgreens
There’s a reason microgreens are often called a superfood. Despite their small size, microgreens are packed with nutrition and often have a higher nutrient content than their mature counterparts.
Of course, nutrient content varies from one type of microgreen to the next, but in general, they are rich in antioxidants and minerals like copper, magnesium, zinc, iron, and potassium. They also contain more vitamins in higher concentrations than sprouts or mature vegetables, including vitamins A, C, E, K, and more, depending on the type of microgreen you grow.
They’re also a healing food that’s fantastic for fighting inflammation and boosting the immune system. The concentrated dose of polyphenols found in microgreens may also reduce the risk of heart disease, Alzheimer’s, diabetes, and certain cancers when consumed regularly. In fact, broccoli microgreens contain sulforaphane, a compound known to target cancer stem cells.
They’re also high in fiber, which means they’re good for your gut- including prebiotic fiber which is crucial for healthy gut bacteria and overall health. And if that’s not enough to convince you, red cabbage microgreens can lower cholesterol and may assist with weight loss.
Best Microgreens to Grow at Home
 Early Wonder Beet Microgreens Seeds – $3.29Early Wonder’ beet microgreens are a popular choice among chefs and home cooks alike. Their mild flavor is the perfect complement atop grilled meats, mixed with salad greens, or eaten like a sprout. |
 Cilantro Microgreens Seeds – $3.99Delight in the freshest-of-the-fresh, cilantro microgreens with that unique flavor, unparalleled by any other herb. The intense flavor balances well with other strong-flavored ingredients or kicks up the culinary experience when paired with mild-flavored dishes. |
 Ciao Bella Basil Blend Microgreens Seeds – $3.99There is nothing like the aroma of basil! Basil microgreens have a milder flavor than full-grown, so more is more with these little guys. Basil microgreens can be grown indoors at any time of year and are a nutrient-packed way to get your “green fix” in the dead of winter. Basil microgreens are ready to harvest in about 16 to 25 days after sowing, when they have cotyledons (first leaves), or when the first true leaves (second set of leaves) have begun to form, depending on preference. The mix includes: 90% Genovese basil and 10% Dark Opal basil |
 Microgreens Savory Mix Seeds – $2.79Liven up sandwiches, salads, soups and crackers with fresh, home-grown microgreens. Tasty and nutritious, they are very easy to grow, and can be grown at any time of the year, even indoors in the winter! The varieties in this custom mix will all be the perfect size at the same time, with an appealing flavor and texture combination as well as a beautiful color presentation. Ten easy serving ideas and a recipe for tomato, microgreens, and mozzarella salad listed inside the packet! |
 Umami Asian Blend Microgreens Seeds – $4.59Did you know there is a fifth taste sensation? After sweet, salty, bitter, and sour, comes savory. Chefs in the 1800s named this flavor umami, which is Japanese for “delicious” or “yummy.” Layers of complementary savory and spicy notes make this mix the perfect garnish for Asian dishes and meats or added to salads for an extra pop of flavor. The mix includes: 32% Tatsoi bok choy, 32% Pac Choi cabbage, 16% Red Giant mustard, 10% Tokyo Bekana Chinese cabbage, and 10% Red Streaked Mizuna mustard |
 Sunflower Microgreens Seeds – $3.29It’s no wonder that birds covet the young sunflower greens that emerge in your garden. They know how delectable they are! High in iron, calcium, protein, and healthful unsaturated fat, the greens from these black oil sunflower seeds (loved by microgreen enthusiasts for their fabulous flavor and tender texture) are a nutritious addition to just about any dish that sprouts from your imagination. |
 Jazzy Mix Microgreens Seeds – $3.99The varieties in this spicy custom mix will all be the perfect 1″–2″ size at the same time, with an appealing flavor and texture combination as well as a beautiful color presentation. Jazzy Mix microgreens are ready to harvest in about 12 to 14 days after sowing, when they have cotyledons (first leaves), or when the first true leaves (second set of leaves) have begun to form, depending on preference.Mix includes: 30% Sawtooth mustard, 30% Peppergrass cress, 15% Red Acre cabbage, 15% Red Giant mustard, and 10% China Rose radish |
 Superfoods Baby Greens Seeds – $3.99What’s more healthful than superfoods, such as kale, broccoli, and collard greens? Baby superfoods! Superfoods are known to pack nutrients and vitamins in every bite, and this blend delivers. Superfoods baby greens can be grown indoors at any time of year and are a nutrient-packed way to get your “green fix” in the dead of winter. Move containers as needed for best light exposure and temperature. Harvest when 2″–4″ tall and enjoy!Mix includes: 20% kale, 20% broccoli, 15% collards, 15% kohlrabi, 15% turnip, and 15% bok choy |
The Best Grow Microgreens at Home Kit

If you’re looking for an easy way to get started with microgreens, try the Microgreens Starter Kit from Hamama. They make the best grow microgreens at home kit for beginners because it comes complete with pre-seeded seed quilts that take all the guesswork out of getting the seed density just right. There’s no soil or growing medium required!
The kit includes everything you need to grow microgreens, including a reusable tray, illustrated instructions, and three seed quilts in whichever flavor varieties you choose. You can even sign up for auto-delivery to have your favorite seed quilts delivered right to your door each month. It doesn’t get much easier than that!
To set yourself up for success with this at-home microgreens growing kit, be sure to watch Hamama’s instructional video and follow the directions carefully. Don’t worry! It’s super easy, even if you’ve never grown microgreens before.
Microgreens vs Sprouts vs Baby Salad Greens: What’s the Difference?
Microgreens often get confused with sprouts and baby salad greens, but they’re all a bit different. They are each harvested and eaten at a different stage of the growing cycle, which results in an entirely different flavor, texture, and nutritional value. The growing techniques for microgreens vs sprouts vs baby salad greens are each a bit different, too.
· What are microgreens?
Microgreens are edible, immature greens that are harvested at the cotyledon stage, usually immediately after the first true leaves appear. The turnaround time for most microgreens ranges from 7-21 days depending on the type.
Microgreens are grown in trays using a growing medium like potting soil, coconut coir, or compostable mats. Some varieties can also be grown hydroponically without any medium. You can grow a lot of microgreens in a small space, which makes them ideal for indoor growing. They do not require fertilizer, but they do require light, good airflow, and proper moisture for optimal growth.
Microgreens are more flavorful and nutritious than sprouts or baby greens, which is why they are so popular among chefs and the health and wellness crowd. They’re also a great choice for those who want to be more self-sufficient but don’t have the right space or climate to grow food outdoors.
· What are sprouts?

Sprouts are different from microgreens because they are harvested shortly after the seeds germinate. The root, seed, and shoot are harvested and ready to eat in around four to six days, depending on the type of sprouts you choose to grow.
They are grown without any growing medium in stackable sprouting trays that require very little space. Sprouts don’t require any light or fertilizer to grow. However, they do need to be rinsed several times a day to reduce the risk of mold and bacteria-related foodborne illnesses.
· How are baby salad greens different from microgreens and sprouts?
And finally, baby salad greens are harvested when the plant has several sets of true leaves. They can be grown with the cut-and-come-again method, which means you can harvest the biggest leaves from each plant and the plant will continue to grow for several harvests.
Baby salad greens are ideal for growing in a DIY indoor garden system, a container garden, or an outdoor garden. Just be aware that they require more light, fertilizer, watering, space, and a longer growing time than microgreens. Most baby salad greens are ready to harvest in about six weeks, depending on which varieties you choose to grow.
They also require cooler temperatures, so they can be more difficult to grow in the summertime.
 |
Microgreens Collection from Botanical Interests – $18.50
Microgreens are not just for chef plates anymore. Tiny, vivid, and flavorful, these nutrient powerhouses can grow right on your windowsill for your own “farm”-to-table experience. |
Frequently Asked Questions About Growing Microgreens at Home
· Are microgreens easy to grow?
Microgreens are very easy to grow and can be grown indoors year-round. However, it does require some experimenting to get the moisture, airflow, and light just right. See our step-by-step instructions above for some valuable tips for beginning microgreen growers.
· What are the healthiest microgreens to grow?
Broccoli, kale, peas, radish, amaranth, and arugula are some of the healthiest microgreens to grow. However, all microgreens contain valuable plant compounds, vitamins, and minerals, and they all make a fantastic addition to a healthy diet.
· Do microgreens regrow after cutting?
Not all microgreens will regrow after cutting, but some will regrow for several cuttings if the conditions are right. Pea shoots tend to be the easiest to regrow. Kale, beans, and some others will also regrow. To improve your chances of getting additional cuttings from your microgreens, be careful not to disturb their root structure and try to leave at least one healthy leaf when harvesting.

· What are the easiest microgreens to grow?
The easiest microgreens to grow are radish, broccoli, cabbage, basil, and lettuce. However, most microgreens are very easy to grow once you get the hang of it and even beginners can catch on very quickly.
· Can I use regular seeds for microgreens?
Sure, you can use regular seeds for microgreens. Any seeds you have on hand will work. That said, seeds that are specifically marketed for microgreen growing may perform better than other seeds simply because the varieties are proven to be good for microgreens. They are chosen because they germinate quickly, grow fast, produce the best harvest in crowded conditions, and have the best flavor at the cotyledon stage.
The Bottom Line: Anyone Can Grow Microgreens at Home
Anyone can grow microgreens at home, even if space and sunlight are limited. Whether you are growing them to add fresh flavor to your cooking or to add variety and nutrition to your emergency food storage, microgreens make an excellent addition to a healthy diet. And with so many different microgreen types to choose from, there’s bound to be a flavor for every person and every dish.