
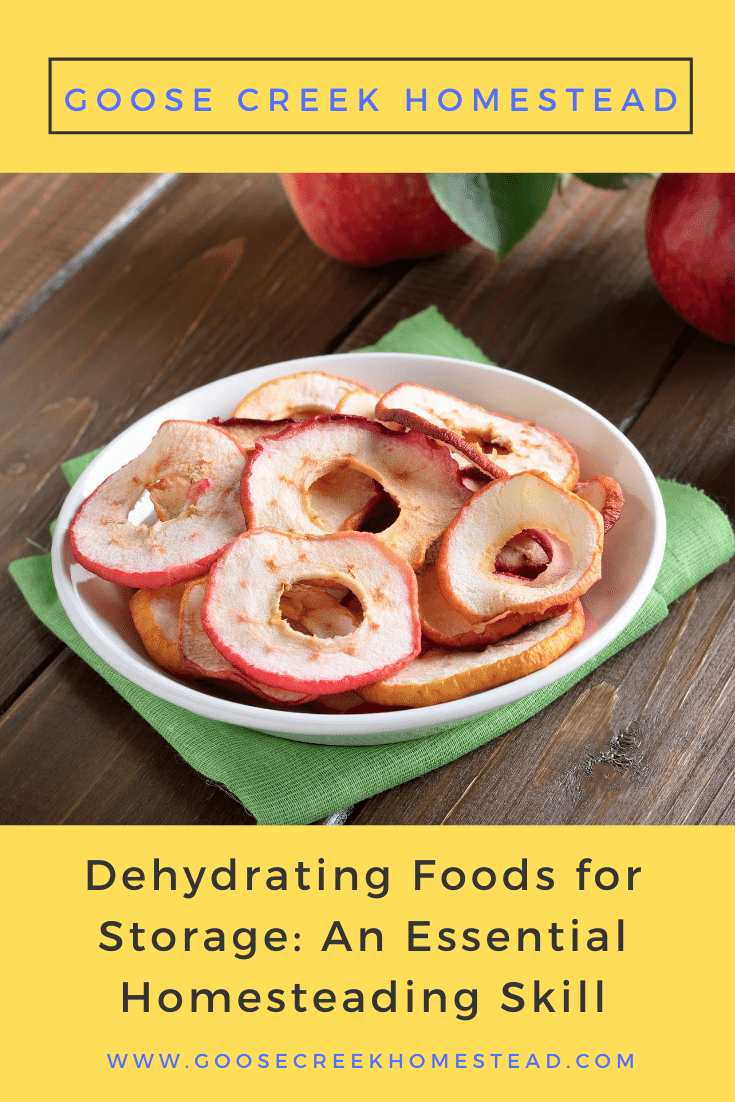
Dehydrating foods for storage is a basic skill every homesteader should learn for preserving and storing the harvest without electricity. Here’s everything you need to know to get started!
Dehydrating, or drying, is a simple and effective way to preserve your home-grown food. Basically, this process involves removing the water from the food to prevent it from spoiling. It’s a basic skill that every homesteader should master for preserving and storing the harvest without electricity.
This ancient method of preserving food was used long before humans even began recording their history. Ancient cultures developed techniques for drying everything from fish and wild game to berries and other foraged foods. Many times, they relied on the sun’s energy or heat from their fires to remove the moisture from their foods so they could have it on hand during lean times, such as throughout the winter.

Click to View Table of Contents
Advantages of Preserving Food by Dehydrating
Dehydrated food is less likely to spoil because most microorganisms that cause spoilage need water in order to grow. Once dried, foods can last for a long time if they are stored in a dry, cool place out of direct sunlight.
Just like fermented foods, dehydrated foods don’t require a freezer or any electricity for storage. And, since dried food is lighter and more compact, it takes up a fraction of the space of canned foods.
One of my favorite things about dehydrating foods for storage is that some things take on entirely different flavors when they’re dried. For example, tomatoes can be turned into delicious sun-dried tomatoes by dehydrating. Or, grapes can become raisins, fruit purees can be turned into fruit leather, plums become prunes, and so on.
Methods of Dehydrating Food for Storage
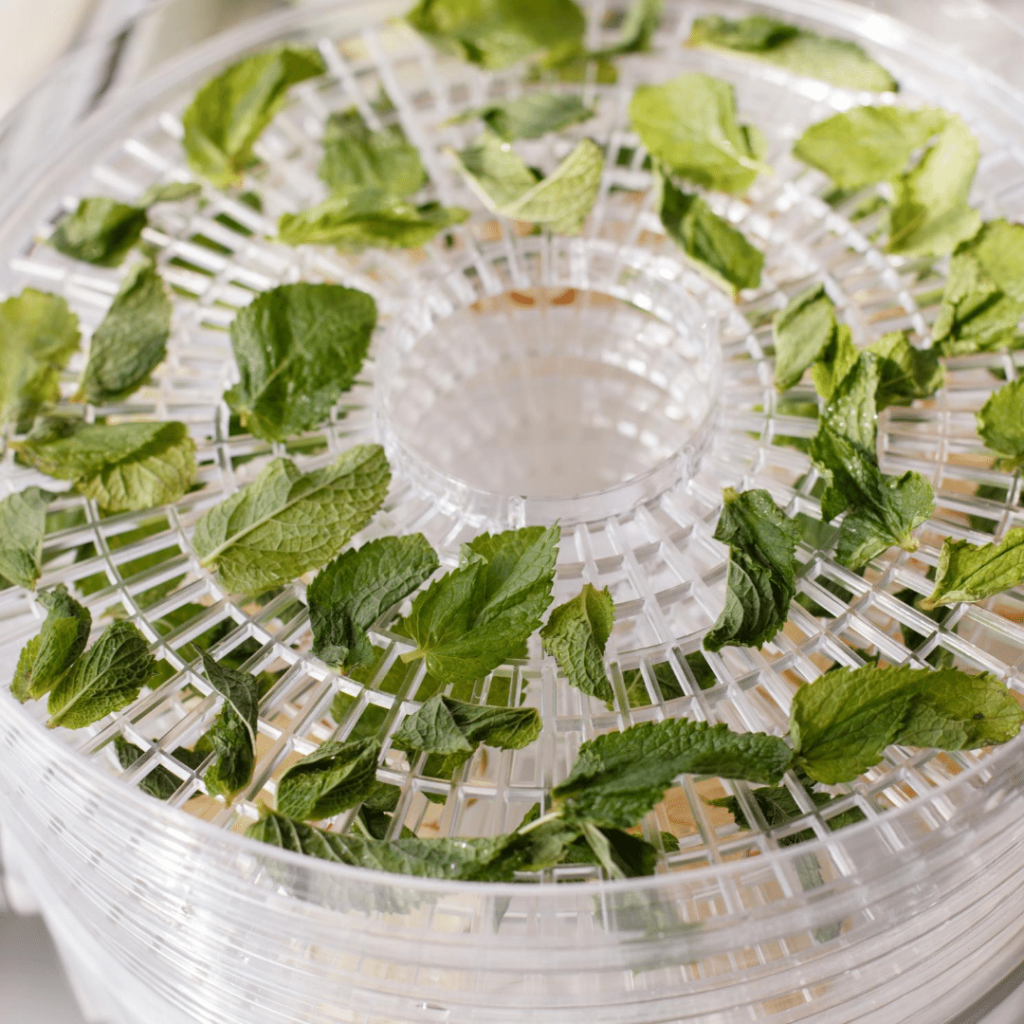
There are a variety of ways to dry food for storage, and many of them don’t require electricity. Some things can simply be hung to dry, especially herbs. Fruits and grains are often spread out on blankets or screens in the sun to dry.
Smokers are commonly used to dry meat and fish. If the temperature setting on your oven goes low enough, you can even dehydrate some foods right on your oven racks. Or, if there’s a fire going in your woodstove, you can lay the food out on screens near the dry heat of the stove to dehydrate it.
I use two different methods to dry food on our homestead, depending on the weather. On dry, warm, sunny days, I use my Sunflair Solar Oven and the dehydrating rack that comes with it to dehydrate food without using electricity. It dries the food fast and I love not having to heat up the house on hot days in the summer.

On cloudy, cold, or rainy days, I dry our produce, herbs, edible flowers, and meats in an electric dehydrator. Excessive humidity can lead to issues with mold, so this method is great when I can’t use the sun.
Electric dehydrators use a fan to circulate heated air across the food, drying it out quickly to retain nutrients and flavor. The best electric dehydrators have a thermostat that allows you to adjust your temperature settings (here’s the one I use).

The Basics of Dehydrating Foods for Storage
Dehydrating foods for storage is a pretty simple process. Fruits, vegetables, and herbs should be washed before dehydrating. I like to leave herbs right on their stems when I dehydrate them. The leaves are easy to pull off after they’re dry. For most other foods, you will need to cut it into uniform pieces before you place it in the dehydrator.
Some vegetables need to be blanched before they go into the dehydrator to preserve their color and flavor. Fruits can be dipped in a solution of lemon juice or citric acid to prevent browning. If you are going to be drying meat, the fat must be trimmed off first to prevent spoilage.
In general, low temperatures are best for herbs and flowers, medium temperatures for fruits and vegetables, and higher temperatures should be used for meat and fish.
The Dehydrator Bible is my go-to instruction manual when dehydrating foods for storage. It lists blanching times, ideal dehydrating temperatures, dehydrating times, how to check for doneness, storage instructions, and more for just about every type of food you can imagine. It’s an invaluable resource to have on hand if you plan to do much dehydrating. It even includes a ton of recipes for using dehydrated foods, which I find incredibly helpful when I’m stuck for ideas.

If your dehydrator trays have large openings, consider getting fine mesh tray liners to use for foods that get tiny when they dehydrate, like herbs. These trays are also great for sugary foods, such as strawberries, because they’re easier to clean and the food doesn’t stick to them as much.
You can also purchase fruit leather trays for some dehydrators that will allow you to dehydrate more liquidy foods. In a pinch, you can cut parchment paper to fit your trays and use that instead of the fine mesh liners or fruit leather trays.
How to Store Your Dehydrated Foods
Dehydrated foods should be dried completely and allowed to cool before storing them. They can be stored in a clean, airtight container, such as a jar, zip-top bag, vacuum seal bag, or mylar bag. Dried foods should be stored in a cool, dry, dark location to maximize their shelf life. Storage times will vary significantly according to the type of food and the conditions, but I find that most of my dehydrated food lasts at least six months to a year.
How to Use Dehydrated Foods
Some dehydrated foods are perfect for use as is. My family loves to snack on dehydrated fruits and fruit leathers, and they usually don’t last long at all in our house. We even dehydrate extra cucumbers and kale to make chips to eat with dip. Green onions can also be dried for use in eggs, on top of baked potatoes, or anywhere else you would use fresh green onions.
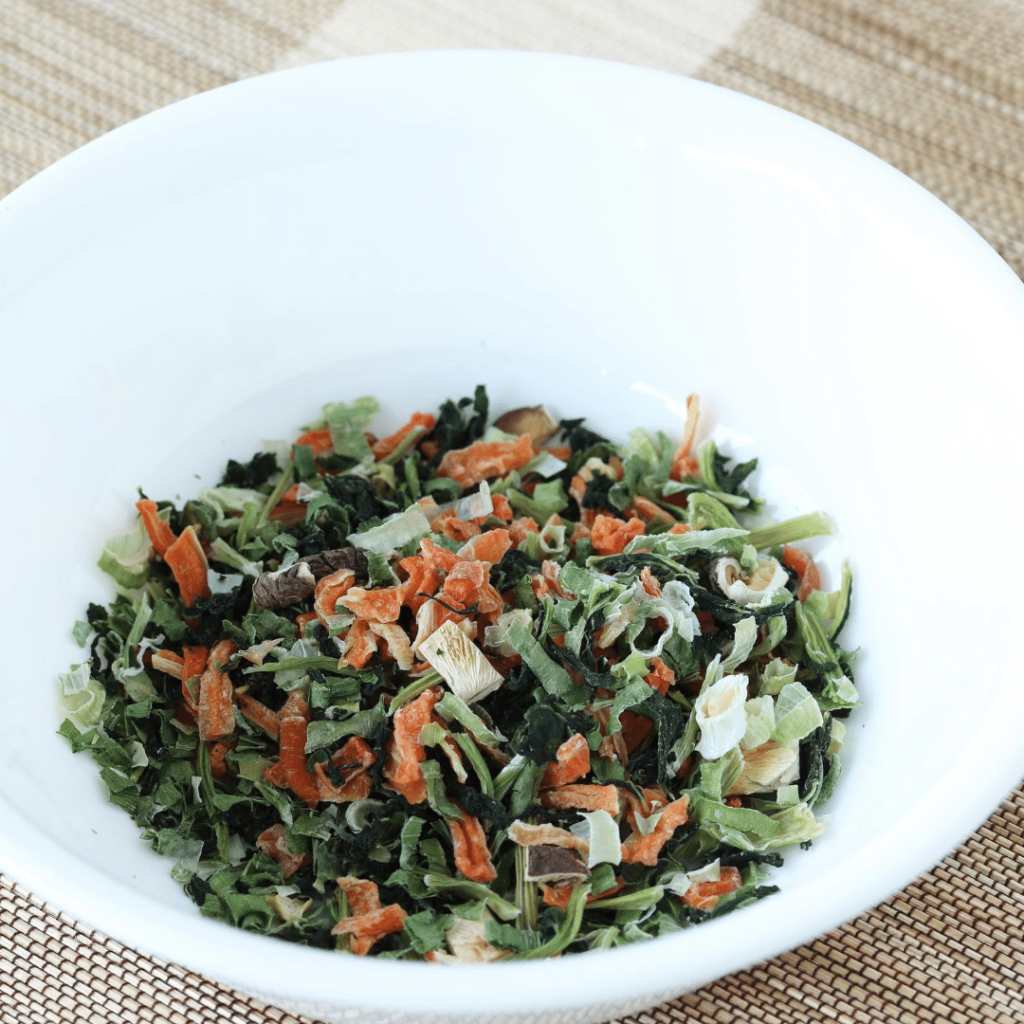
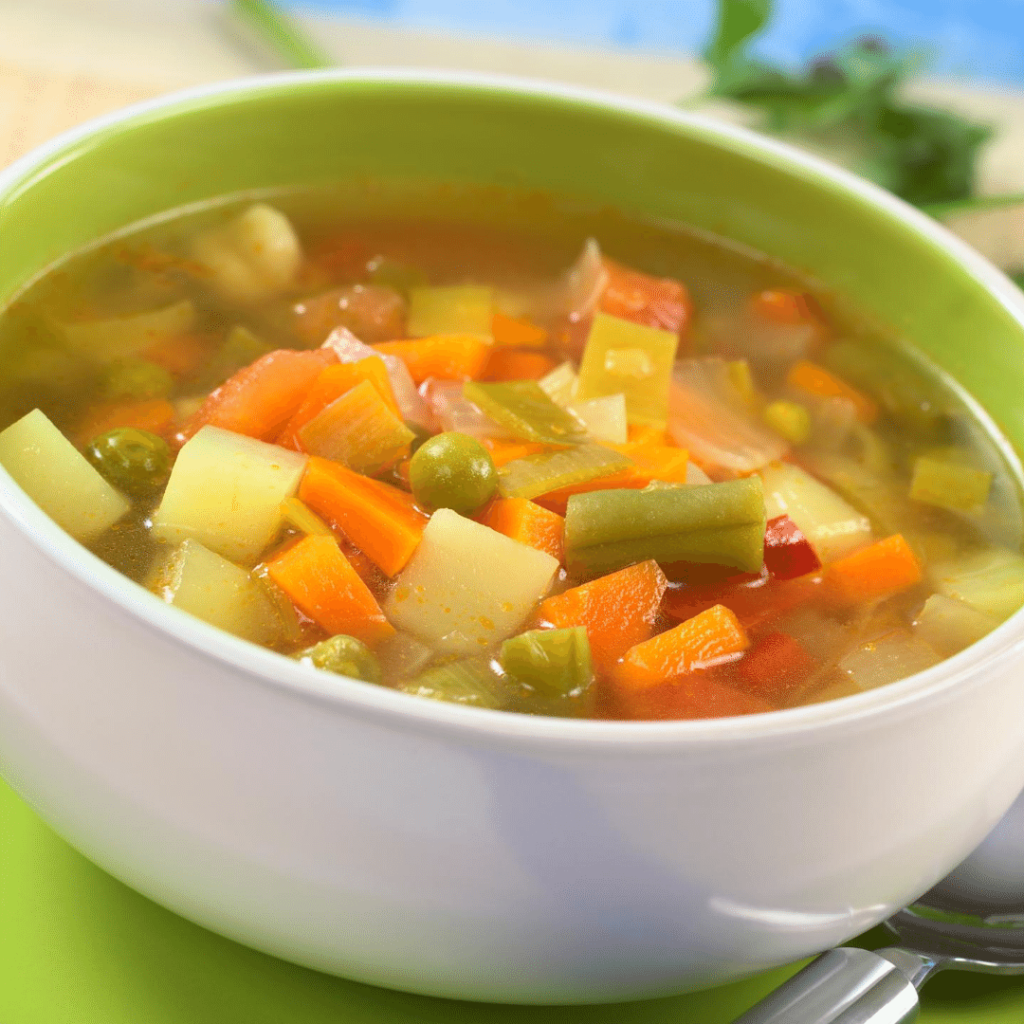
If you are making a soup, sauce, or stew, dehydrated vegetables can be tossed right into the pot as they are to rehydrate in the hot liquid. Dehydrated mushrooms, tomatoes, and zucchini are just a few examples of foods we keep on hand for this purpose.
I also love to dehydrate greens like kale, spinach, and collards. Once dried, I powder the greens in the food processor so I can toss a handful into soups and sauces over the winter for added nutrition and flavor.
Sometimes, you will want to rehydrate foods before you use them in a recipe. Usually, you can just soak the foods in room temperature water until they are rehydrated. I find that tomatoes and some other fleshy vegetables rehydrate better if they are soaked in boiling water. You can also use other liquids, like fruit juice, to rehydrate foods when appropriate.
Keep in mind that dehydrated foods will return almost to their normal size once they are rehydrated. Adjust the amount you use in your recipe accordingly. When used in a soup or sauce, dehydrated foods will soak up a lot of liquid. You will need to add more liquid than you usually do.
Although many dried foods don’t have the exact same texture as they did when they were fresh, they are delicious and tender when used in cooking. They also retain more nutrition than canned foods, which are processed at high temperatures.
The Bottom Line
Dehydrating is a simple way to preserve your home-grown foods. It is a lot less labor-intensive than canning. Since there’s no electricity required for storage, you never have to worry about losing all your hard work if the power goes out, as you do with frozen foods. It’s also very affordable. You can get a really decent dehydrator for less than $100. If you’re new to home preserving, give dehydrating at try! You’ll be glad you did!